

So I bought this one from a vintage shop in Sheffield last week - but I knew I could do something with the straps in a matter of minutes as I looked inside the top - some are easier than others. This one was pretty simple as the straps on this one were hand stitched to the inside of the lining. If you have to undo some seams to get to where the straps are attached, consider how much you dislike the original straps and how long a time you can spend on the project.
My problem with this top was more the strap position than the straps themselves. I guess I could have resewn the originals to save time but I was planning to make some fancier ones, which is why I took them both off in the first place - but then I didn't have enough time to make some knew ones either!
Anyhoo, back to the post. Turn your top inside out.
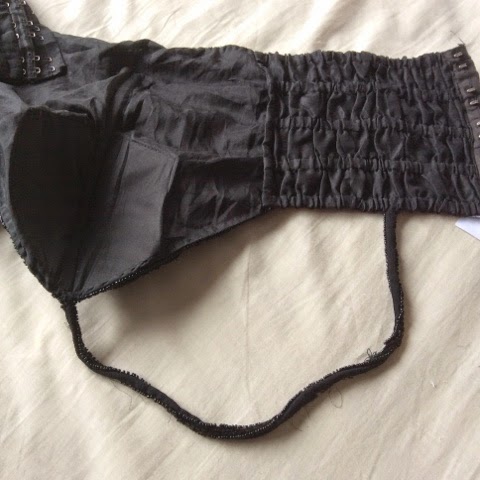
This is where you find out if it's going to be easy or not. If you have facings and binding to go through, get digging, if not...

Pin where your original straps are currently located, if you would like to keep the same positions ( I kept the back ones the same, and just altered the front) then unpick that side of that strap.

Pin on the front where you want your straps to go - you may need a friend to help you with this as it's better to wear it and pin than guess and have to redo it later. Please appreciate the amount of chins I have going on whilst trying to take this photo, not used to taking photos on my iPad yet!

Take your original strap and decide if you want more or less room in it, and make a note of how long it is. I added half an inch or so onto each side of my strap to stop the fray as I used ribbon for mine.

Then pin!

Get an appropriately coloured thread out and hand stitch (depending on your top) the straps down. Take the most time doing this bit as it could literally fall apart if you don't do this right!

And voilà! Straps are done. Add any embellishments you'd like to add and wear your top with pride.

Until next time,
Toni
No comments:
Post a Comment